Concrete Slabs: Everything You Need to Know
If you asked most blokes and bloke-esses around the country what they want most for their next birthday, you’re going to hear “a new shed”, an awful lot. A nice big, modern shed with good lighting and easy access is a dream for most of us. So when it’s finally time to pull the trigger on a new shed, to finally crown your yard and give your rusty Gemini somewhere to live while it’s ‘waiting on parts’, it’s easy to get excited and skip a few steps.
ALSO READ – HOW MUCH VALUE DOES A SHED ADD TO A HOUSE?
But one step you’ve absolutely gotta get right, is the concrete pad. It’s a make or break, that concrete slab—quite literally. Whether it goes in before or after you put the shed walls up, and how thick it should be are critical questions.
Today, we’re going to break down exactly what you need to know to build the perfect foundation for your shed. Think of this article as a little guide to concrete slabs for sheds.
Spoiler: You should 100% pour the slab before building the shed. Slab before shed is something we consider non-negotiable, and decades of shed building AND concreting should make that opinion pretty qualified. If you still need a little convincing (and the scoop on concrete slab thickness), read on.
Pour the Concrete Slab Before Building Your Shed, Not After.
We get asked this question all the time, and often that’s a result of other shed builders doing things dodgy. True, putting the walls up and then pouring in the slab can be an easier, faster and cheaper job.
That is, until the sunken part of your new shed’s walls start to corrode, and all of a sudden your new shed isn’t looking so flash at all.
Concrete corrodes shed walls.
With the walls of the shed being put up first, they are exposed to accelerated corrosion caused by the wet concrete reacting with the shed materials.The process of pouring the slab after the walls are up isn’t a move you want to make.
There are many shed builders that will pour your slab after the shed, and you might be tempted because of the cheaper quote. But you’ve gotta ask yourself, why is the quote cheaper? Is it really because the guy is just more efficient, or making less money, or are the corners being cut (and shed walls getting corroded).
Replacing corroded shed walls costs a lot more than building the slab right.
It’s simple maths that replacing the shed walls because they rusted out prematurely will cost you a lot more than just building the concrete slab right the first time. But that’s not your only problem, the cured concrete shrinks- causing a build up of dirt and debris in the gap left between the shed walls and the slab itself.
Slab first means a full warranty.
At Spinifex we pour the concrete slab first, making sure you can take advantage of our full installer’s AND manufacturer’s warranty for the shed we construct. Pouring your slab in first helps to significantly reduce the risk of corrosion, and is something we always recommend for every shed project.
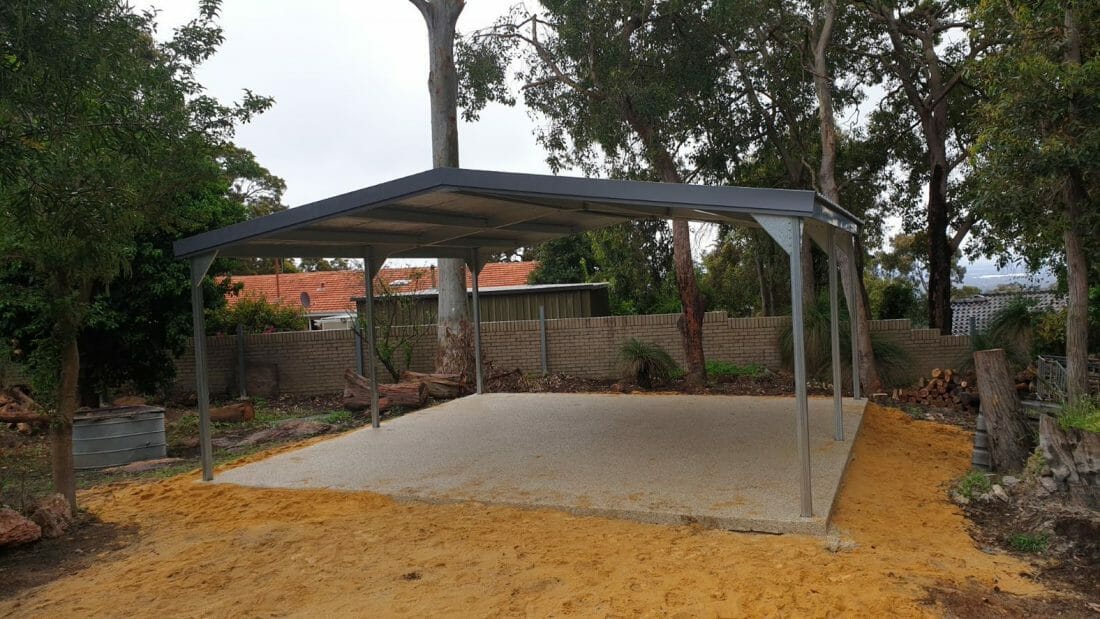
How Thick Should a Concrete Slab Be for a Shed?
Well, what’s the shed for?
First up, it’s important to think about what the shed is going to be used for. If you’re planning on just storing the mower, maybe a spade or two, the concrete just needs to be deep enough for the shed footings.
However, if you’re planning on installing a car hoist or other heavy machinery in the shed, you’re going to need a deeper and potentially reinforced slab. They not only need to be bolted down, but the weight and movement of some machinery can crack slabs. Think about a metal worker’s shop. The heavy presses, lathes and hammers can cause cracks and fractures if the slab isn’t par for the course.
Check with the machinery manufacturer what concrete specs the equipment needs to be installed on. For common equipment like hoists, just give us a call and we can help you out.
If you’re still considering pouring the slab after the walls are up, even though it’s not a great idea, consider your depth and make sure you’re going to be able to achieve it. Given the wall heights and access points you might need to dig the foundation lower to get enough concrete depth.
Different shed mounting styles need different concrete.
Essentially, there are three main ways of connecting the shed’s columns to the slab, and they vary in effectiveness. You’ll need to think about the climate where your shed is going up, and how long you want it to last when choosing a mounting method- if you’re in an area that sees regular cyclones, make sure it’s tied down as firmly as possible.
Dynabolts
Dynabolts are the easiest, quickest and cheapest way to mount your shed to the slab. Realistically, they’re the weakest of the three but need the least fiddling.
Drill a hole into the slab, and slot the bolts in. Tightening up the thread will cause the outer shell to expand, and bite into the concrete.
One of the downfalls with dynabolts however, is that they can fail to grip, damaging the concrete and widening the hole. Once it’s too wide, they won’t grab at all. This is particularly a problem in weak or poorly laid concrete as it’ll crumble and the dynabolt won’t hold. You better hope it doesn’t get too blowy when a storm rolls in.
Note: At Spinifex Sheds, we install the concrete slab ourselves. Our slabs are the right thickness, offering you a level stable base that’s exactly right for whatever you need. As professional concreters, we know how to pour world class concrete for a solid foundation. While dynabolts aren’t our first option for fixing sheds down, with the quality concrete base we’ll provide they can be used just fine. Most of the issues with dynabolts occur with second rate concrete jobs.
Chemset and Threaded Rod
A much more superior option than dynabolts is chemset and threaded rod. You start off by drilling a hole into the slab, before dropping a threaded rod into it and securing it with chemset.
The combo is stronger than dynabolts, as chemset is basically cement epoxy that sticks real tight. Then, you’ve got a bolt glued directly to the slab to which the posts can be affixed with a regular hex nut affair. Chemset holds better than dynabolts, and is maybe slightly more involved as a process. Overall though, when tying a shed down if they’re your only two options- the chemset and threaded rod will give you more security and a firmer hold.
Cast-in Stirrups
The ultimate way to fix your shed to the ground is with cast-in stirrups. They’re pretty much exactly what they sound like, a mounting point that is inserted into the wet concrete or set up prior to the initial pour—either way they’re part of the slab.
This means they’re virtually impossible to remove, short of cutting the whole section of concrete out. Obviously though, they need to go in prior to the shed going up, which means the margin for error is significantly lower- there’s no take backs once the concrete sets.
Having said that, they are also the easiest to install, assuming you get the measurements correct and they don’t move!
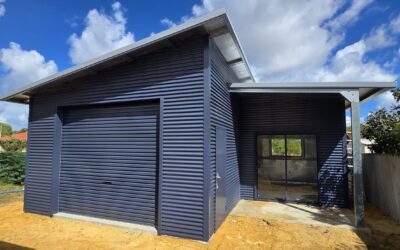
It’s Worth Considering Getting the Professionals in.
Shed floors are as important as your shed itself. For larger buildings, getting the concrete right and a good thickness the whole way across can be harder than it looks. In our humble opinion, it’s best to consider a concreting specialist for the job—ideally one that’s got experience with sheds and shed slabs. If that’s not us, that’s totally OK, but make sure whoever does the job does it right.
A great shed will be your pride and joy, a space to do what you enjoy and store things securely. Make sure you get the slab thickness right, lay a great foundation and you’ll be able to enjoy it for years to come.
Want us to do it for you?
But if you’d like us to do it for you, we offer a complete package. Literally point at a patch of dirt, grass, gravel or whatever else and in short order we’ll point at your brand new shed and say “She’s ready for ya, mate.”
We’ll pour the perfect slab, construct your ideal shed that’s built just for you, and even organise installation of a suitable car hoist should you want one. We’ll use in-concrete saddles for mounting points to help achieve maximum strength for your shed, so you won’t need to worry about its structural integrity.
By choosing Spinifex Sheds Perth for the job, you’re choosing a quality job taken care of by experienced professionals, allowing your shed to have the best possible lifespan and continued use over the years. Get in touch today.

SIMON BUSBY
Owner - Spinifex Sheds
I've got a passion for helping people build the right shed. Whether that's custom made for your hoist, fitting the shed into a tight site or just a shed that's going to last many years, I love to help.
Similar Articles
8 Shed Lighting Ideas (That Actually Work)
If you’re planning a new shed or just want to make your existing one more usable, lighting makes a big difference. Whether you’re working on the ute, knocking out a quick project, or finding that last tool in the back corner, poor lighting makes everything harder than it needs to be.
She Shed Ideas: That Aren’t Just Pretty Pictures
A backyard shed isn’t just for storing tools and lawn gear. With the right setup, it becomes a space you’ll actually want to spend time in. A place to create, relax, or get things done without distractions.
This guide walks through practical she shed ideas that go beyond Pinterest trends. These are proper steel sheds built to suit your block, your needs, and the tough WA conditions.
How to Vermin Proof Your Shed (Properly)
If you’re looking into how to vermin-proof a shed, it pays to get the facts straight. It’s not about throwing a few traps in the corners or spraying some repellent and hoping for the best. Pests are opportunists. In Western Australia, that can mean dealing with...